
Create blog for free with Hugo, Firebase and Github
1. Create a Firebase project
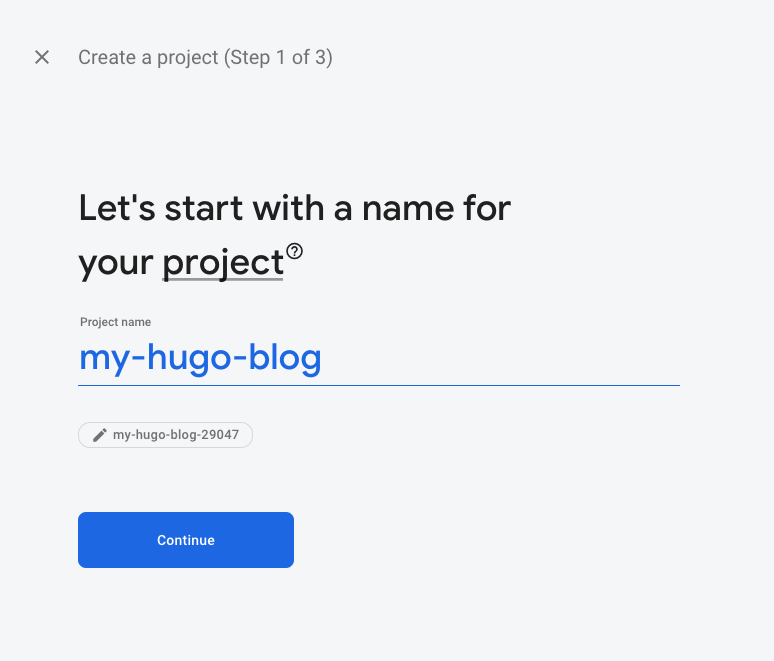
Go to Firebase and create am account and a project. Let’s say “my-hugo-blog”:
2. Install Hugo
Then lets install Hugo (MacOS & Linux):
$ brew install hugo
Go to Hugo to see how to install it on Windows or other OS’s.
3. Create website with Hugo
$ cd /var/www
$ hugo new site "my-hugo-blog"
Init the Git directory:
$ cd my-hugo-blog
$ git init
4. Choose a theme and install it
Go to the themes webpage and choose one. For example, Ananke. Or our own theme, Appaka Single.
Install it as git module:
$ git submodule add https://github.com/budparr/gohugo-theme-ananke.git themes/ananke
Edit the config.toml config file and add this line:
theme = 'ananke'
5. Add your first post
$ hugo new posts/my-first-post.md
And put some content:
---
title: "My First Post"
date: 2020-04-27T08:47:11+01:00
draft: false
---

Hello! this is my first post on Hugo!
6. Run Hugo server
You can execute a local server to see your blog before deploy it:
$ hugo server -D
That will compile your content and the theme and generate the static files on memory, ready to be shown on http://localhost:1313/.
7. Deploy blog to Firebase
Compile / generate static content:
$ hugo
That will generate all the static files into /public.
Now you have to deploy it to Firebase.
We will install firebase-cli if you already haven’t done it:
$ npm install -g firebase-tools
Then login into Firebase:
$ firebase login
Then initialize Firebase joined to your blog:
$ firebase init
Choose just hosting.
And, finally, deploy the static content to Firebase:
$ firebase deploy
Go to Firebase console and you will see you can see your website online.
8. Automatize deployment with Github / Actions
Create a file inside your website (in this example /var/www/my-hugo-blog) called .github/workflows/firebase.yml whith this content:
name: Deploy to Firebase

on:
  push:
    branches:
     - master

jobs:
  build:
    name: Build
    runs-on: ubuntu-latest
    steps:
    - name: Checkout master
      uses: actions/checkout@master
    - name: Checkout submodules
      uses: textbook/git-checkout-submodule-action@master
    - name: Create public directory
      run: mkdir -p public
    - name: Setup Hugo
      uses: peaceiris/actions-hugo@v2
      with:
        hugo-version: 'latest'
        extended: true
    - name: Build website with Hugo
      run: hugo --gc --minify --cleanDestinationDir
    - name: Archive Production Artifact
      uses: actions/upload-artifact@master
      with:
        name: public
        path: public

  deploy:
    name: Deploy
    needs: build
    runs-on: ubuntu-latest
    steps:
      - name: Checkout Repo
        uses: actions/checkout@master
      - name: Download Artifact
        uses: actions/download-artifact@master
        with:
          name: public
      - name: Deploy to Firebase
        uses: w9jds/firebase-action@master
        with:
          args: deploy
        env:
          FIREBASE_TOKEN: ${{ secrets.FIREBASE_TOKEN }}
Let’s get the Firebase token to be used by GitHub:
$ firebase login:ci
Copy the value.
Got to GitHub and create a new repository. For example: http://github.com/yourgithubid/yourrepo/. And add a new secret value, FIREBASE_TOKEN, and paste in the value the code you got in the previous step.
Add your remote git repo to your local:
$ git add remote origin http://github.com/yourgithubid/yourrepo/
$ git add *
$ git commit -m "initial commit"
$ git push origin master
From now on when you push something to master GitHub will run the workflow “Deploy to Firebase” automatically. You can see the progress in the GitHub repo page, in the “Actions” section.
Comments
Do you have any comment? Questions? You can do it here or by mail (see header).